Adding files to your Open edX course
While creating your course you will likely need to upload files for your students to access, be it images you want to include in your lessons, or handouts you want to make available for students to download, you need to upload them to your course first.
Add a file to your course
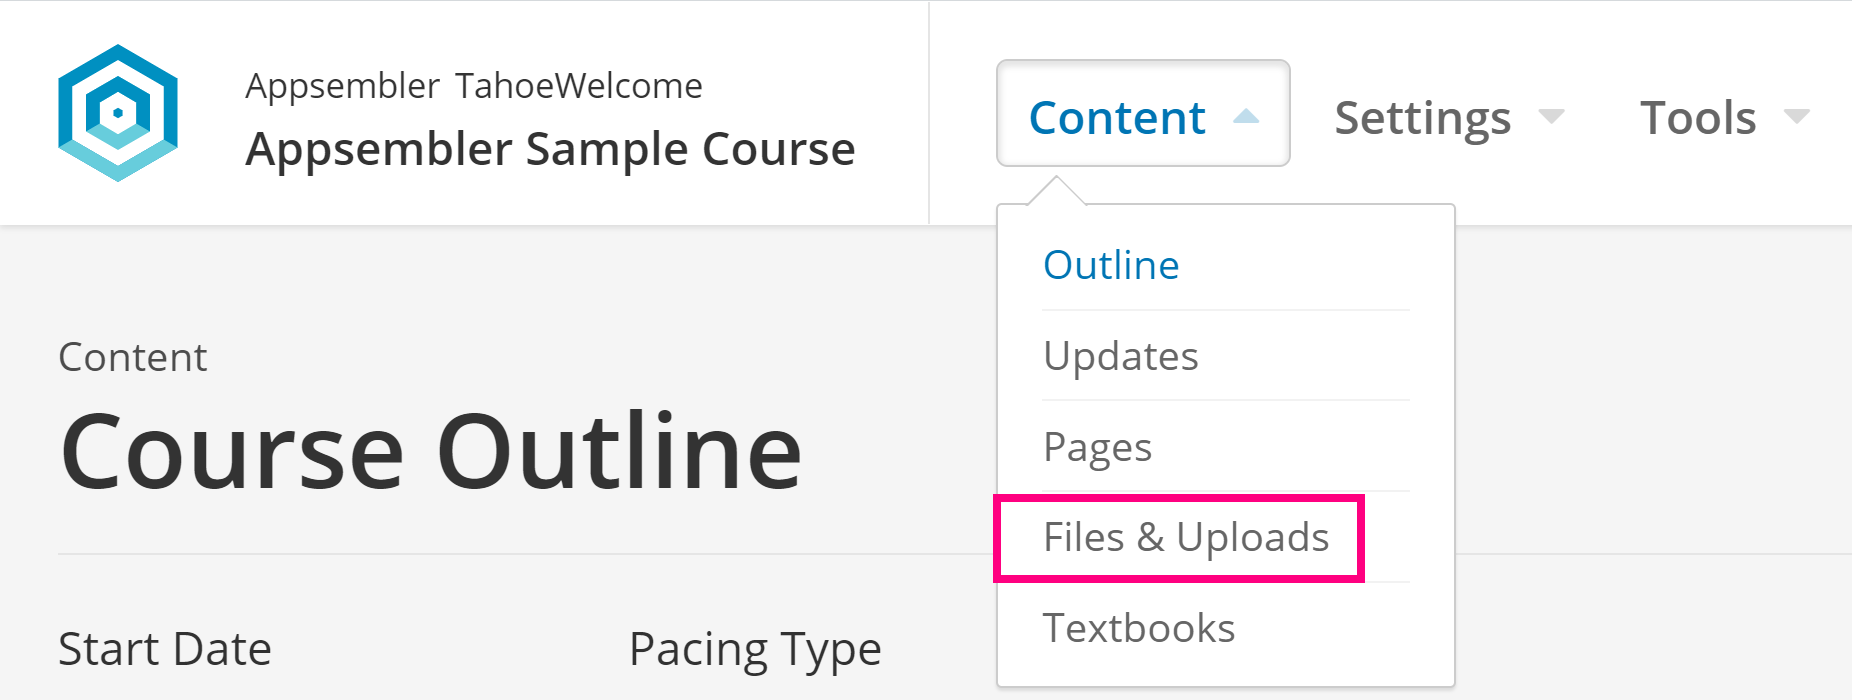
First, make sure you're in Studio. Then, from the Content drop-down menu, select Files & Uploads.
This is your Files & Uploads page, where you can manage all the files you add to your course.

To the right of a file upload there are four buttons, Studio URL, Web URL, the Delete button and the Lock/Unlock button.
You will notice that for every file you upload, two URLs are generated. The Studio URL is for adding links to the file in course components. The Web URL is for linking to the file outside edX, such as in email. Students can only see a file if you create a link to it.
Note: You will want to use the Studio URL most of the time.
To upload a new file, simply click the button in the Drag and Drop section that says Browse your computer.
From here, simply select the file you wish to upload, and click open. 
Next, you'll see an Upload Completed window. From here you can either choose to upload more content, or simply click the little x at the top right hand corner to exit the window.
 That's all there is to it! You're now free to use your file however you like!
