Adding a SurveyMonkey survey to your Open edX course
Using third party tools in Open edX is a great way to extend the platform's capabilities. One of the common tools is SurveyMonkey for its ability to securely gather student data that's easy to access later. Here's how to embed one such survey in your Open edX course. In this article we're going to assume that you have a SurveyMonkey account already, with a survey that you want to embed.
- From SurveyMonkey, go to the Collect Responses step of the survey you want to add to your course. It looks like this:
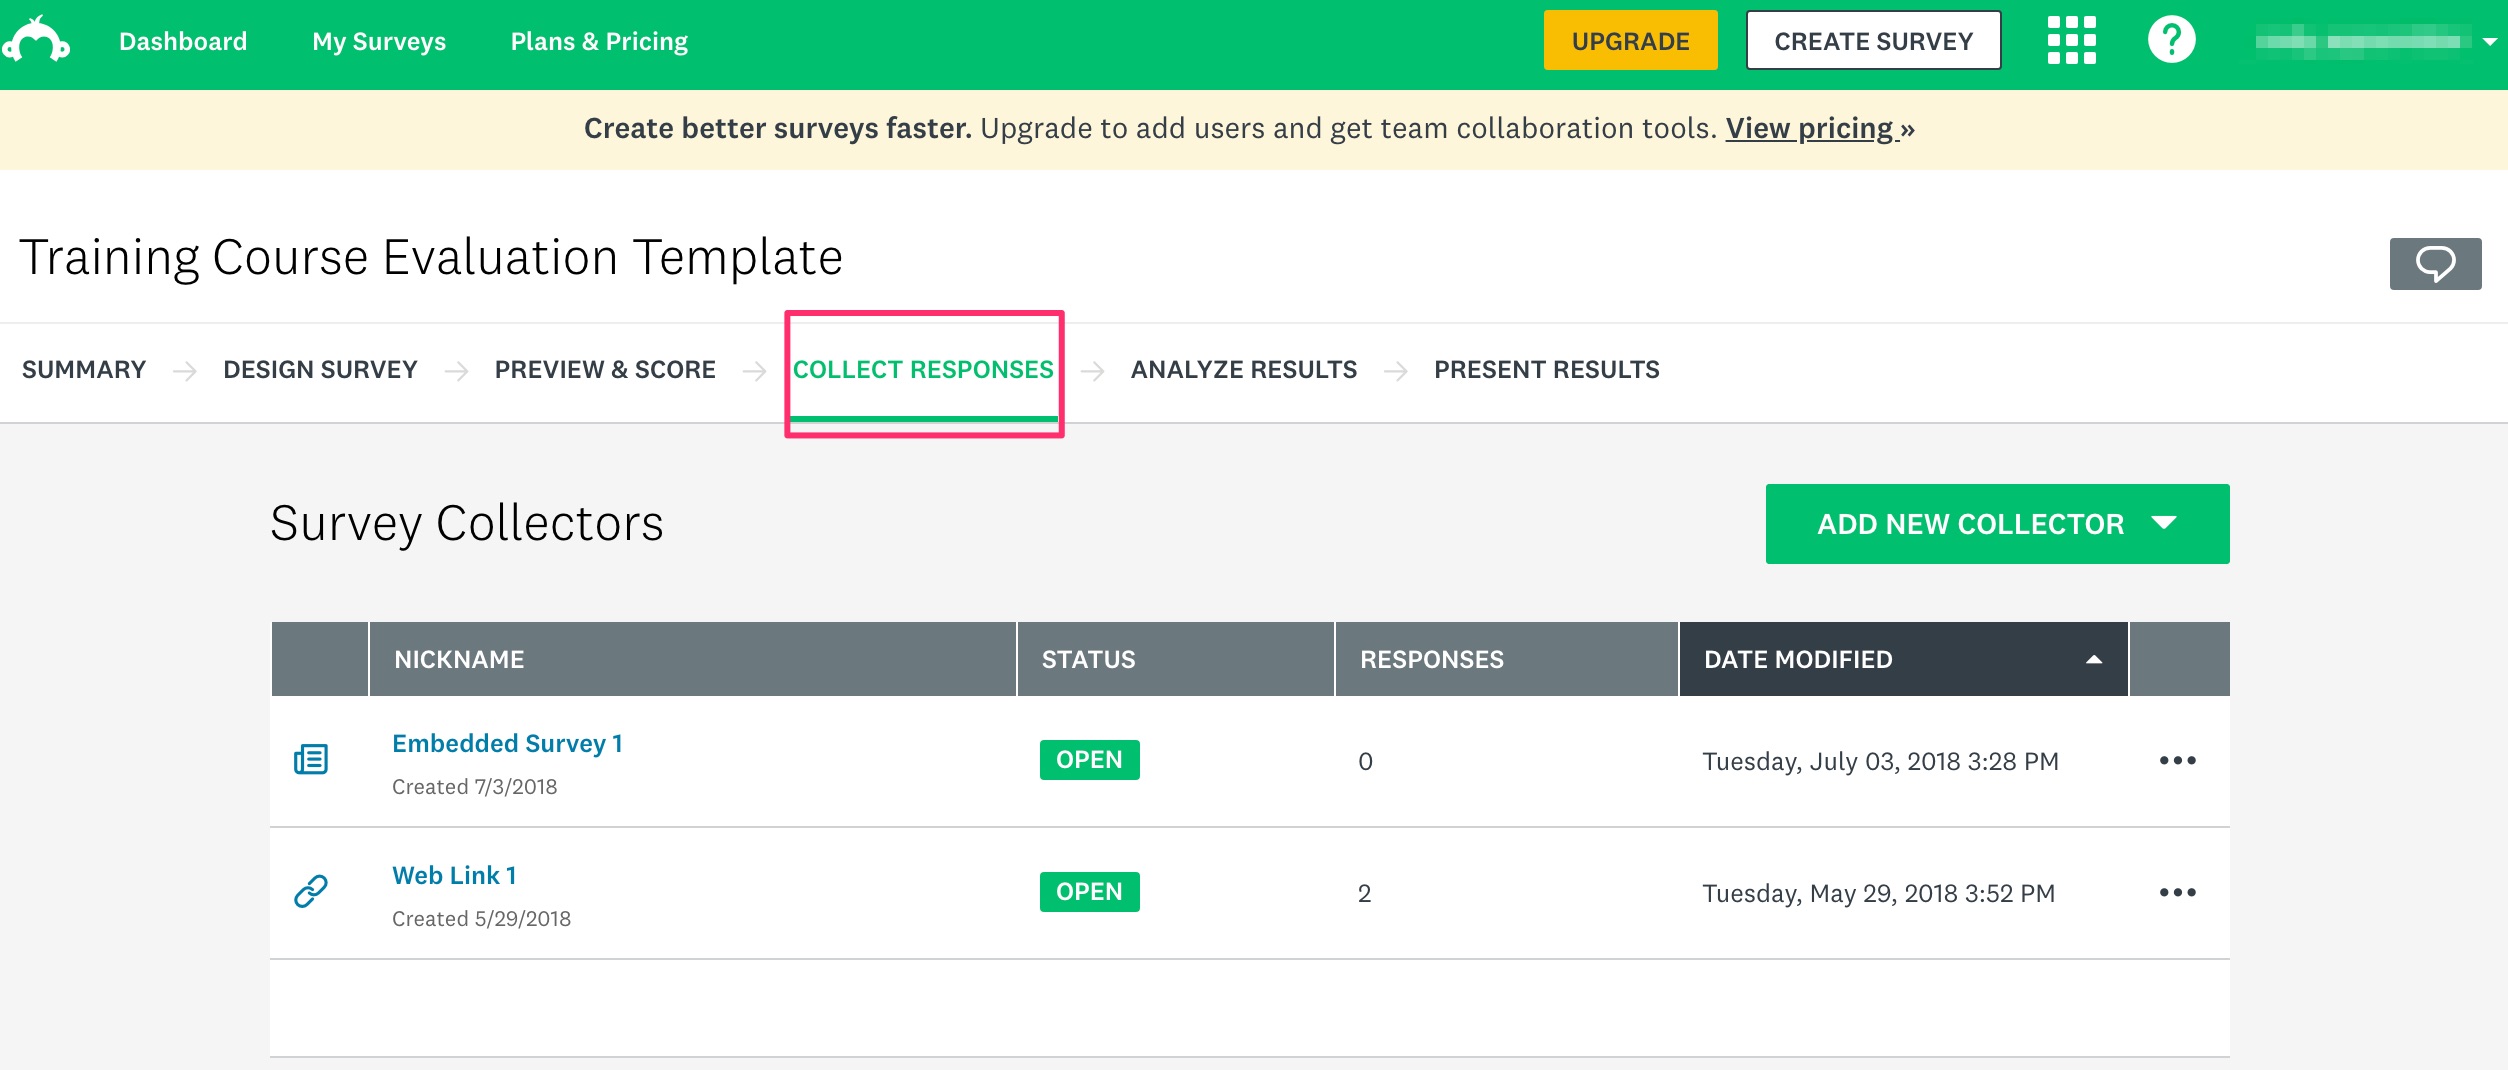
- If you don't have a web link, click the Add New Collector dropdown and choose Web Link Collector

If you already have a Web Link collector, you can just click on it from your list of Survey Collectors - On the web link page, click Copy next to your web link

- Now go over to Open edX Studio
- Navigate to the unit where you want to add your survey
- Click the green HTML button and choose IFrame Tool


- Click Edit

- Click HTML

- This is where things can get a little scary if you're not familiar with HTML, but it's really not that bad. Just scroll down to line 25 where you see: "<p>The sample IFrame follows. Modify its attributes as described above.</p>" This last bit is all we're concerned with. You can delete everything that precedes it. Your code should look like this now:

- Add the title of your survey between the quotes where you see "Euler Line Demo"

- Next, highlight the url between quotes after src="..." and paste in the web link collector of your survey.

- Next, you'll want to do a bit of adjusting on the sizing/spacing attributes to make sure your survey looks good! First, change width="402" to width="100%" - this will make the survey occupy the entire width of the page. Then change height="402" to height="768". This will give your survey some room to breath without being too big on small screens.
- Click OK at the bottom of the HTML window.
- You should now see your survey embedded into the component WYSIWYG editor. You might want to accompany your survey with some instruction text, so that your students know what to do.

- When you're finished editing click Save

- When you're ready don't forget to click Publish to push your changes live to the LMS.
- That's it!


NOTE: It's always a good idea to check to make sure your survey looks good in the LMS, and make any changes that you feel are necessary to the width and height. Remember to check it out on mobile!
